Setup APNs for Your iOS App in 4 Easy Steps

Notifications matter! Notifications done right can significantly boost app usage. Notifications done wrong can have the opposite effect, driving app usage down and causing your your app to be deleted outright. Doing notifications right isn’t easy, but we can help!
Research has shown that push notifications boost app engagement by 88%, but before that can be realized there’s some ground work to do. For iPhone and iPad Apps, this means setting up the Apple Push Notification Service (APNs) to send notification messages to your App.
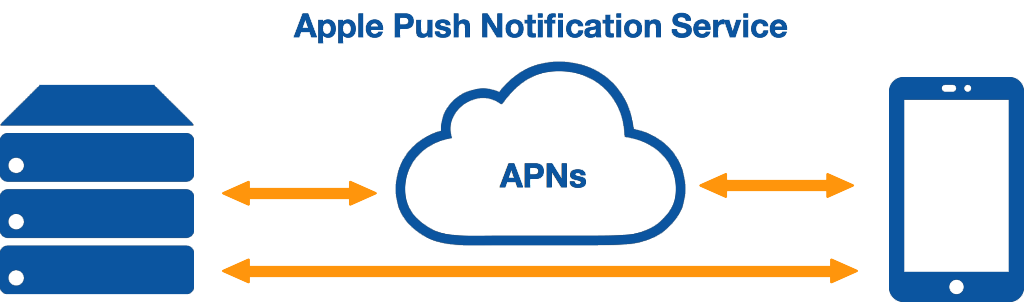
APNs is Apple’s robust, highly efficient and secure service for sending notification content to iOS mobile apps. When an app is launched, it establishes a secure persistent connection from the user’s device, which APNs uses to deliver notifications. An internal company back-end server sends message content to APNs, which then delivers those notifications to the end user devices. Notifications from your back-end server can both proactively alert your users to important information, such as emergency alerts, or silently update content that users will see the next time they open your app.
iOS apps that handle push notifications, such as the Alberta Emergency Alert and SaskAlert Apps, must be permitted to receive messages from APNs. When enabled, the Push Notification capability for your app gets associated with an App ID in your Apple Developer account. An App ID is used to uniquely identify your iOS app and your development team, to ensure that notifications can only be sent by your organization, and received by your app users.
On your back-end server, referred to as the provider in the Apple Push Notification Service documentation, an Apple-provisioned certificate is used to create a secure trust connection with APNs. The following diagram illustrates the use of an Apple-issued certificate to establish trust between a provider and APNs.
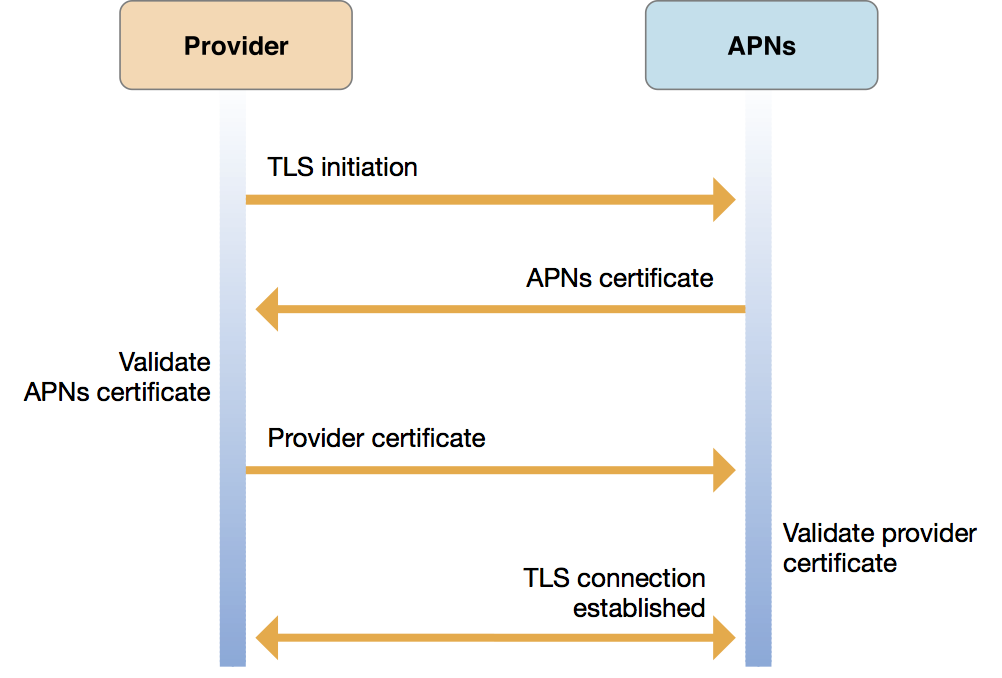
- Your provider requests a secure connection with APNs using transport layer security (TLS)
- APNs responds with an APNs certificate, which your provider validates
- Your provider must then send its Apple-provisioned provider certificate back to APNs
- APNs then validates your provider certificate, confirming that the connection request originated from a legitimate provider, and establishes your TLS connection
Setting up your app to connect to APNs can be done in four easy steps:
- Get ready for setup by gathering device(s) to test on and access to necessary accounts
- Create your notification-enabled App using Xcode to setup your app project
- Enable APNs for your App by configuring your app project and App ID
- Create and export your push certificate to securely communicate with APNs
Download our guide for step-by-step instructions with screenshots and you’ll be ready to start using APNs and boosting user engagement with notifications in your iOS app.
[…] For more information on setting up your app to connect to APNs, see Arter Kirkwood & Associates Setup APNs for Your iOS App in 4 Easy Steps!. […]